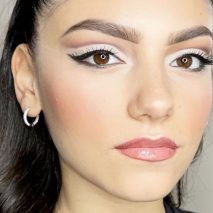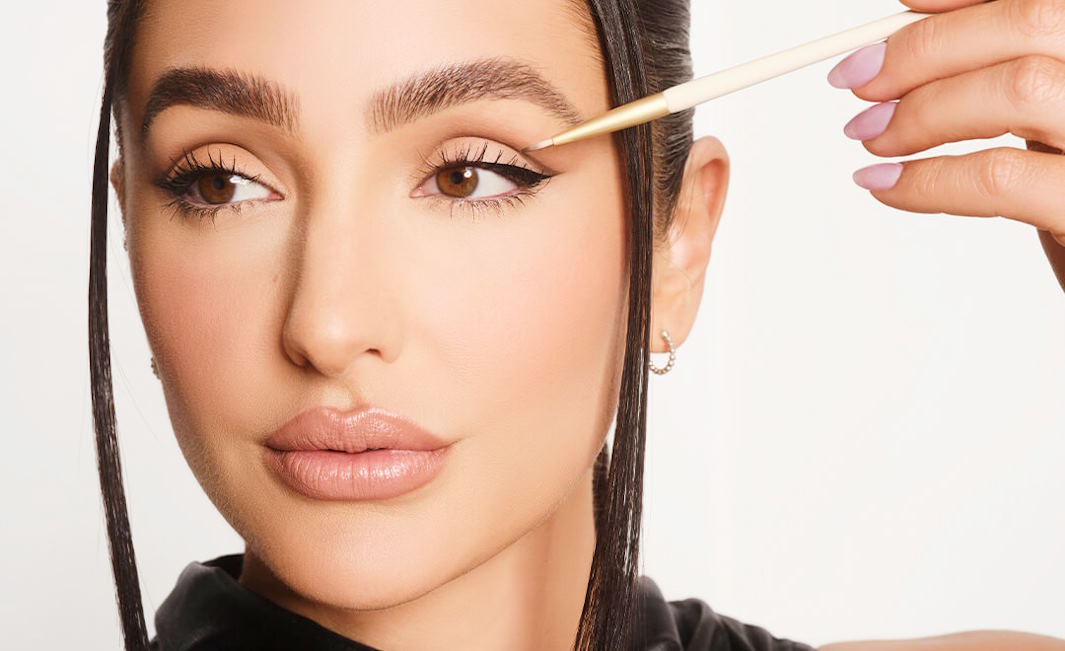
Eyes are often considered the windows to the soul, and what better way to enhance their allure than with a perfectly executed cut crease eyeshadow technique? Whether you’re a makeup enthusiast looking to elevate your skills or a professional seeking to master the latest trends, mastering the art of the cut crease can revolutionize your eye makeup game. This precision technique involves creating a sharp division between the lid and crease, resulting in a defined and dramatic look that can suit any occasion, from everyday wear to glamorous evenings out.
Step-by-Step Guide to Creating a Cut Crease
Mapping out the crease line:
Start by identifying your natural crease line using a small, precise brush and a neutral eyeshadow shade. Gently trace along the crease, ensuring accuracy and symmetry between both eyes. This initial step serves as a blueprint for the rest of your cut crease application, providing a guideline for where to apply your concealer and eyeshadow.
Cutting the crease with concealer:
Using a flat, synthetic brush and a creamy concealer that matches your skin tone, carefully carve out the shape of your cut crease. Begin at the inner corner of the eye and gradually work your way outward, following the mapped-out crease line. Keep the concealer line sharp and defined, ensuring a clean separation between the lid and crease.
Applying eyeshadow to create dimension:
Once the crease is cut, it’s time to add depth and dimension with eyeshadow. Choose complementary shades to create a gradient effect, starting with a lighter shade on the lid and gradually transitioning to darker shades in the crease. Use a small, fluffy brush to pack on the color, building intensity as desired.

Blending for a seamless transition:
Blend, blend, blend! This step is crucial for achieving a flawless transition between shades. Using a clean blending brush, gently buff the edges of your eyeshadow to soften any harsh lines and create a seamless gradient. Take your time with this step, as meticulous blending is key to a polished finish.
Adding depth and definition:
To enhance the cut crease effect, deepen the outer V of the eye with a darker eyeshadow shade. This adds dimension and definition, creating a more dramatic and sculpted look. Use a small, angled brush to precisely apply the darker shade, focusing on the outer corner and blending it into the crease for a seamless transition.
Tips and Tricks for Perfecting Your Cut Crease
Utilizing different tools for precision:
Experiment with various brushes to find the ones that work best for you. Small, flat brushes are ideal for carving out precise lines with concealer, while fluffy blending brushes are perfect for seamlessly blending eyeshadow. Additionally, consider using makeup tape or stencils to achieve sharp and symmetrical cut creases with ease.

Building up color intensity gradually:
Rather than applying a heavy layer of eyeshadow all at once, start with a light hand and gradually build up the color intensity. This allows for better control and prevents the risk of overapplication, ensuring a more seamless and professional-looking result.
Fixing mistakes without starting over:
Mistakes happen, but they don’t have to derail your entire makeup look. If you accidentally smudge or blend too much, don’t panic! Simply dip a clean brush into a bit of translucent powder and gently pat over the affected area to soften the edges and correct any errors without disturbing the rest of your makeup.
Customizing the technique for different eye shapes:
No two eyes are exactly alike, so it’s important to tailor the cut crease technique to suit your unique eye shape. For hooded eyes, extend the crease slightly above the natural fold to create the illusion of depth. Conversely, for prominent or almond-shaped eyes, focus on accentuating the natural crease for a more defined look. Experimentation is key to finding the most flattering technique for your specific eye shape.


